Ninja Ice Cream Maker Recipes: 5 Reasons You’ll Love These
Table of Contents
What if I told you your Ninja Creami is about to prove that myth utterly wrong?
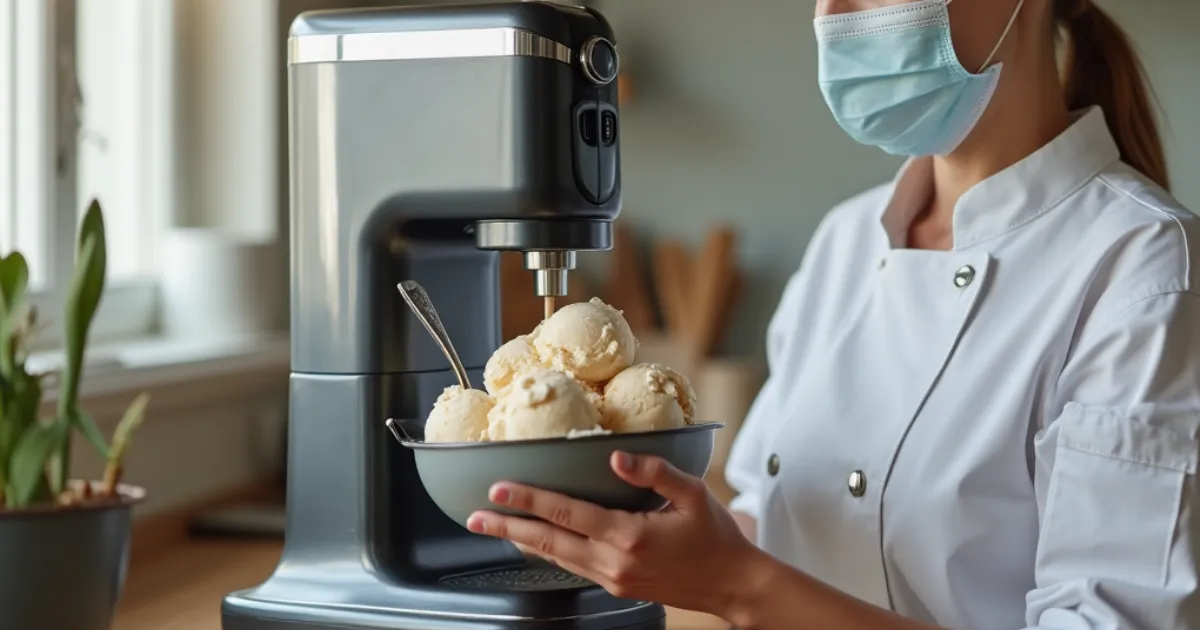
Recent Pinterest trend data shows searches for “easy ice cream maker recipes” grew by 150% last summer. With the Ninja ice cream maker leading the charge, home chefs are discovering how simple and rewarding frozen desserts can be. Ninja ice cream maker recipes unlock a world of creamy, custom desserts made in minutes, not hours. Forget rock-hard store-bought tubs and artificial ingredients – your Ninja gives you complete control. So, why are these recipes so irresistible? These are the five things that will change your game:
- Speed Demon: Make ice cream in as little as 25 minutes (from churning to scooping).
- Effortless Customization: Swirls, mix-ins, healthy swaps – adjust anything instantly.
- Perfect Texture, Every Time: Achieve that coveted creamy, scoopable consistency without icy crystals.
- Healthier Indulgence: Easily control sugar, use real fruit, or craft keto-friendly pints.
- Cost Savings: Ditch premium brand markups. Homemade pints often cost half the price.
Ready to experience it yourself? Let’s dive into a classic: Creamiest Vanilla Bean Ice Cream, the perfect base for endless creativity with your Ninja!
Ingredients List for Creamiest Vanilla Bean Ice Cream (Makes 1 Pint)
The beauty here? Simple staples create something extraordinary. Don’t be fooled – using real vanilla bean is essential for that deep, floral aroma you can almost smell.
- 1 cup (240ml) Heavy Cream (chilled): The foundation for rich creaminess. For slightly lighter texture, swap half for whole milk, but avoid skim.
- ½ cup (120ml) Whole Milk (chilled): Provides smoothness and helps with freezing.
- ½ cup (100g) of granulated sugar: enhances texture and adds sweetness. Sub with coconut sugar, monk fruit sweetener (1:1 ratio), or maple syrup (reduce other milk slightly).
- 1 Vanilla Bean Pod, split and scraped (or 1.5 tsp pure vanilla extract): Split the pod lengthwise and scrape out the fragrant seeds with the back of your knife. This is where the magic happens. If using extract, add with the cream mixture after cooling. Don’t skimp!
- Tiny pinch of Salt: Balances flavors and heightens vanilla. Don’t overlook this.
Pro Sensory Tip: Pure, nuanced vanilla flavor that tingles the senses is promised when using bean seeds, which produce hundreds of tiny black flecks. If using high-quality extract, ensure it smells sweet and deep, not sharp or alcoholic.
Timing Breakdown: From Fridge to Scoop
- Prep Time: 5 minutes (Whisking the base)
- Chill Time: Crucial! At least 4 hours, preferably overnight (Allows flavors to meld and mixture to chill completely before freezing. Don’t skip this!)
- Freezing Base: ~8-12 hours (Overnight – time your freezer needs to solidify the mix in the pint container)
- Processing in Ninja Ice Cream Maker: 3-8 minutes (Ninja Creami programs like “Ice Cream”)
- Hardening (Optional): 1-2 hours (For a firmer scoop; eat immediately for soft-serve!)
Total Time Commitment: Approx. 4 hours 5 minutes active/supervised time. The bulk is hands-off chilling and freezing. Compared to traditional custard-based recipes requiring 30+ minutes of stovetop cooking plus chilling, this is roughly 50% less active time.
Step-by-Step Instructions
Step 1: Infuse & Whisk
In a medium bowl, whisk together the cold heavy cream, cold whole milk, granulated sugar, vanilla bean seeds (reserve the pod for another use, like sugar!), and salt. Until all of the sugar has been dissolved, whisk vigorously. This ensures smoothness, preventing a gritty texture later. Tasting a tiny dab? You should feel zero sugar grains on your tongue.
Step 2: Chill Deeply is Key
Cover the bowl tightly (plastic wrap touching the surface prevents a skin) and refrigerate for at least 4 hours, or better yet, overnight. This isn’t just cooling; it hydrates the sugar completely and allows the vanilla flavor to permeate every molecule, leading to a significantly richer taste. Patience rewards you here!
Step 3: Freeze Your Base
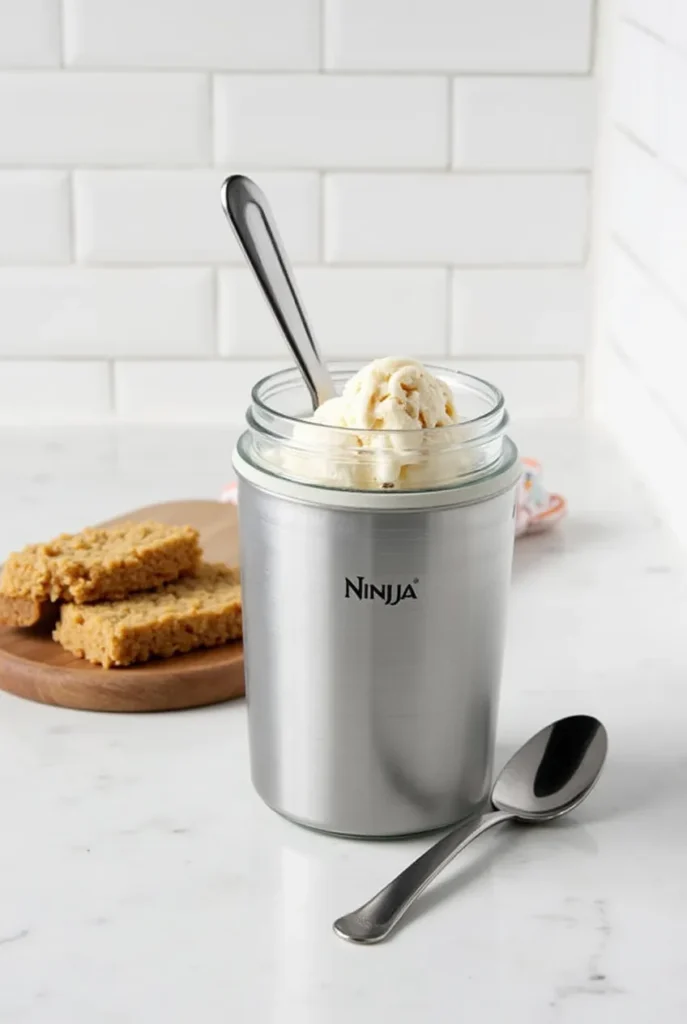
Pour the chilled mixture into your Ninja Creami pint container. Leave about 1 inch of headspace at the top – it expands slightly as it freezes. Make sure the gasket is positioned properly to avoid freezer burn and seal tightly with the lid. Place the pint perfectly level in your freezer and freeze solid for the recommended time per your freezer’s strength (usually 8-12 hours/overnight). Rock solid means the mixture doesn’t jiggle when you shake the pint.
Step 4: Ninja Transformation – The Fun Part!
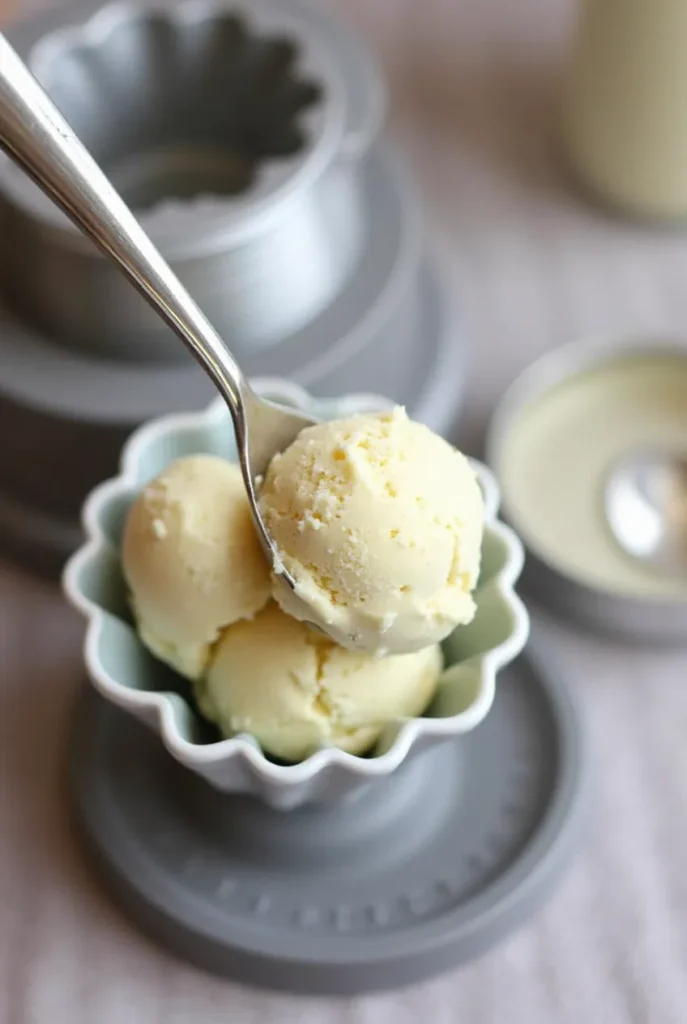
Remove the solid pint from the freezer. Pop it into the Creami outer bowl. Attach the blade lid securely. Place it in the Ninja machine and lock it. Select the ICE CREAM program. Hit start.
- Pro Sound Tip: Listen! The machine will start spinning quietly, then you’ll hear a distinct “crunching” sound. This soon transforms into a smooth, low hum – that’s when you know the magic is happening! Processing usually takes 3-4 minutes, but thicker mixes might take up to 8 minutes.
Step 5: Respin for Peak Perfection
When the machine stops, carefully remove the lid. Check the texture. If you notice any unmixed bits along the sides or bottom, or if it seems a little crumbly, don’t panic! Pop the inner lid (not the blade lid) back on and select the RESPIN function. Run for another 1-2 minutes. This is your “safety net” for guaranteed creaminess. Always run a Respin cycle if adding mix-ins later!
Step 6: Serve or Mix-In (H3)
Your ice cream is ready! It will be like perfect soft-serve. Scoop immediately for this texture. For firmer scoops, transfer it to an airtight container and freeze for 1-2 hours. Want mix-ins (chocolate chips, cookie dough)?
- After Step 5, use a spoon to create a deep well down the center of the pint.
- If you want to avoid straining the blade, use no more than ¼ cup of mix-ins per pint.
- Pop the inner lid on and run MIX-IN mode. Enjoy the swirls!
Nutritional Information (Per ½ Cup Serving)
Based on traditional ingredients:
| Nutrient | Amount |
| Calories | ~250 kcal |
| Fat | 18g (11g Saturated) |
| Carbs | 20g |
| Sugar | 18g |
| Protein | 2g |
| Sodium | <50mg |
Note: Values are estimates that can vary significantly based on specific ingredients (like sweetness level) and especially substitutions. For example, swapping all heavy cream with low-fat coconut milk reduces saturated fat by over 50% and calories to ~180 per ½ cup.
Healthier Alternatives for the Recipe
Want to lighten things up without sacrificing taste? When making Ninja ice cream maker recipes, these alternatives are great:
- Lower Sugar: Swap granulated sugar for Monk Fruit/Erythritol blend (1:1 ratio) or Allulose. Both freeze exceptionally well, have lower calories, and won’t spike blood sugar significantly.
- Dairy-Free/Vegan: Use full-fat coconut milk for the cream and unsweetened almond, oat, or soy milk for the whole milk. The result is rich, creamy vegan ice cream.
- Higher Protein: Add 1-2 scoops (about 25g) of unflavored whey protein isolate to the chilled mixture before freezing. Ensure it dissolves completely. Creates a creamier texture similar to premium brands.
- Keto-Friendly: Make sure your goals for total net carbohydrates are met by using the above-mentioned monk fruit sweetener substitute.
- Fruit Focus: Replace ¼ cup of the liquid with unsweetened fruit puree (mashed banana, strawberry puree) for natural sweetness and flavor. Reduce sugar slightly.
Serving Suggestions to Impress
A bowl of vanilla deserves to shine! Go beyond the scoop:
- Classic Affogato: Pour hot espresso over a scoop. Instant elegance.
- Brownie Power: Serve warm with a brownie chunk stirred in right before the MIX-IN cycle or crumbled on top.
- Berry Explosion: Top with fresh berries and a drizzle of warmed fruit puree.
- Homemade Cone Upgrade: Serve in a waffle cone dipped in melted dark chocolate and sprinkles.
- Upscale Weekend Brunch: Layer scoops with granola and Greek yogurt for frozen parfaits.
- Adult Indulgence: Swirl in a tablespoon of bourbon or Kahlua before the final RESPIN or MIX-IN cycle for added depth.
Common Mistakes to Avoid (& How to Nail It)
Keep your Ninja ice cream experience frustration-free:
- Mistake: Skipping the Full Chill. Result: Ice cream may freeze unevenly and be grainy. Fix: Be patient – 4 hours minimum!
- Mistake: Overfilling the Pint. Result: Ice cream spills over, messes up the machine, yields dense results. Fix: Stick to the 1-inch headspace rule.
- Mistake: Adding Hot/Cold-Warm Mixture to Freezer. Result: Uneven freezing, potential thawing of freezer rim. Fix: Ensure base is fridge-cold and freezer-ready.
- Mistake: Not Running RESPIN. Result: Slightly crumbly ice cream. Fix: Always run a short RESPIN cycle after the main process – it’s designed to smooth things out! Think of it as the polish.
- Mistake: Using Frozen Fruit Directly in Base. Result: Overly icy ice cream. Fix: Thaw and drain frozen fruit thoroughly before adding as a mix-in after the initial freeze and processing cycle.
Storing Your Homemade Ice Cream Like a Pro
Freshness and texture are key! Here’s how to store like the Ninja ice cream maker recipes pro you now are:
- Immediately After Churning: Eat soft-serve straight from the machine for the best airy texture.
- Firming Up: Transfer scoops or the remaining pint to an airtight container. Before sealing, firmly press the parchment paper onto the ice cream’s top. This keeps crystals of ice from developing on top. Seal tightly.
- Freezing for Later: Stored properly, ice cream keeps well for 1-2 months, but flavor peaks in the first week. The parchment paper trick is crucial.
- Serving from Storage: Before scooping, place the pint on the counter for five to ten minutes for the most convenient scooping experience. Alternatively, run it on RE-SPIN for 1-2 minutes straight from the freezer for near-fresh texture.
Conclusion: Your Scoopable Adventure Awaits
In only a few minutes, the Ninja ice cream maker turns basic ingredients into smooth, personalized frozen treats. Forget complicated recipes! This Creamy Vanilla Base proves it’s shockingly easy to make ice cream at home that rivals the best. Scoop up a pint and experience the difference for yourself. Ready to become a Ninja ice cream recipes master? Don’t wait! Tonight, try this meal and share your thoughts in the comments section below! Got questions? Ask away! Subscribe for weekly recipe ideas and exclusive Ninja tips to fuel your frozen fantasies!
Ninja Ice Cream Maker Recipes: Your FAQs Answered
Q: Do I need to pre-freeze the Ninja Creami bowl every time?
A: Yes! The bowl must be frozen solid (minimum time per manual, usually 24-48 hrs previously or 8-12 if pre-freezing a fresh batch) before processing any recipe. It’s how the machine freezes the mixture through its unique blade interaction.
Q: My ice cream seems crumbly after processing. What’s wrong?
A: Almost always fixable! Simply run the RESPIN function for 1-2 minutes. If still too firm (often if overfrozen or very sweet), try adding 1 teaspoon of milk or cream before respinning. It’s the #1 trick!
Q: Can I use regular freezer storage containers instead of Ninja pints?
A: Avoid this. Ninja pints are specifically designed to fit the machine’s blade mechanism and lid perfectly, ensuring correct freezing and processing depth. Using other containers risks damage to the machine or poor results.
Q: How long does homemade Ninja ice cream stay creamy in the freezer?
A: When stored correctly in airtight Ninja pints or similar, with parchment pressed on the surface, it stays scoopably creamy for 1-2 weeks. Beyond that, it might harden but is usually easily revived by the RESPIN function.
Q: Can I make sorbet or dairy-free recipes easily?
A: Absolutely! The Ninja excels at sorbets. Puree 2 cups ripe fruit (strained if seedy), ¼ – ⅓ cup sugar (or sweetener), and a splash of acid (lemon/lime juice). Freeze solid overnight and process on either SORBET or ICE CREAM mode. Add a spoonful of spirits to soften the scooping. Non-dairy bases (coconut, nut milks) work perfectly – just follow the machine’s guidance.
Q: Is it noisy?
A: It makes noise – a medium grinding/crunching sound that shifts to a hum as it processes. It’s similar to a powerful blender but concentrated into a short 3-8 minute burst. Not silent, but the speed makes it tolerable!
Has our recipe been tried?
There are no reviews yet. Be the first one to write one.

