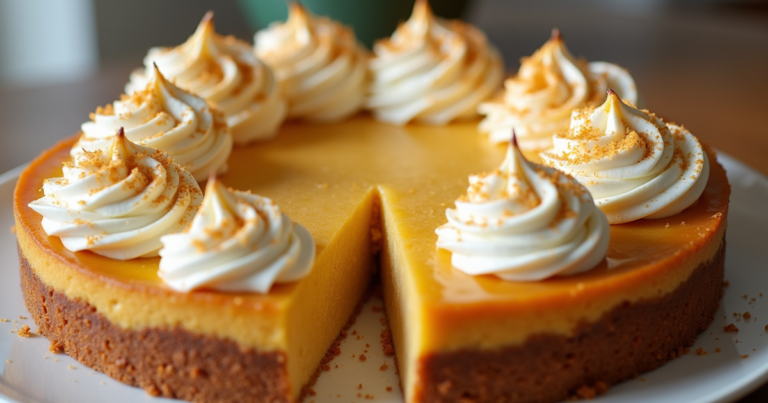
Single Crust Pie Dough Recipe: How to Bake in 6 Simple Steps
Table of Contents
Single Crust Pie Dough Recipe, But Make It Not a Nightmare
Alright, let’s just get real: most people’s first pie crust turns out like a hockey puck or a limp handshake. (Don’t lie, you’ve been there.) The truth? Pie dough’s gotten a bad rap thanks to way-too-fussy recipes. But honestly, if you can make cookies, you can absolutely crush this single crust pie dough recipe. Forget the drama—this is the only recipe you need for flaky, buttery, “oh wow, I made that?” crust. Yeah, even for quiche. Or galettes, if you want to go get fancy.
What You Need—No Weird Ingredients
| Ingredient | Amount | Why It Works | Substitutions |
| All-purpose flour | 1½ cups | Balanced protein for structure | Gluten-free 1:1 blend |
| Unsalted butter | ½ cup (cold) | Steam = flaky layers | Vegan butter (high-fat) |
| Fine sea salt | ½ tsp | Enhances buttery richness | Himalayan pink salt |
| Ice water | 3–4 tbsp | Hydrates without activating gluten | Vodka (for extra tenderness) |
| Optional: | |||
| Sugar | 1 tsp | Promotes browning | Honey (reduce water by ½ tsp) |
Pro tip: Butter should be cold and solid but not a rock. Jab it with your thumb; if it pushes back, you’re golden. Too soft? Give it a time-out in the freezer.
Time Breakdown: Faster Than Waiting for Pizza
Prep: 10 mins
Chill: 1 hr (or cheat and freeze for 30 mins)
Active Time: 15 mins
Whole thing: 1 hr 25 mins (way less if you skip scrolling TikTok mid-bake)
Step-by-Step: Foolproof Dough in 6 Steps
Step 1: Whisk Dry Ingredients
Dump flour, salt, and sugar (if you want) into a bowl that’s been chilling in your fridge. Cold is key—nobody wants melty butter at this stage.
Step 2: Cut in the Butter
Toss in your cold, cubed butter. Either a pastry cutter or your fingers will work. You want some bits as big as peas—those become epic flaky layers.
Step 3: Hydrate Gently
Drizzle 3 tbsp of ice water over the crumbles. Gently stir with a fork. Grab a pinch and squeeze—does it clump? Good. If it crumbles, add a tiny splash more.
Step 4: Form & Chill
Pat the dough into a thick disk. Wrap it up tight in plastic. Chill for at least an hour. Don’t skip this unless you want your pie to shrink into oblivion.
Step 5: Roll with Confidence
Dust the counter, then put the dough on it and roll it out to about 12 inches in diameter. Give it a little spin every couple of rolls so it doesn’t stick. No rolling pin? Wine bottle. I won’t tell.
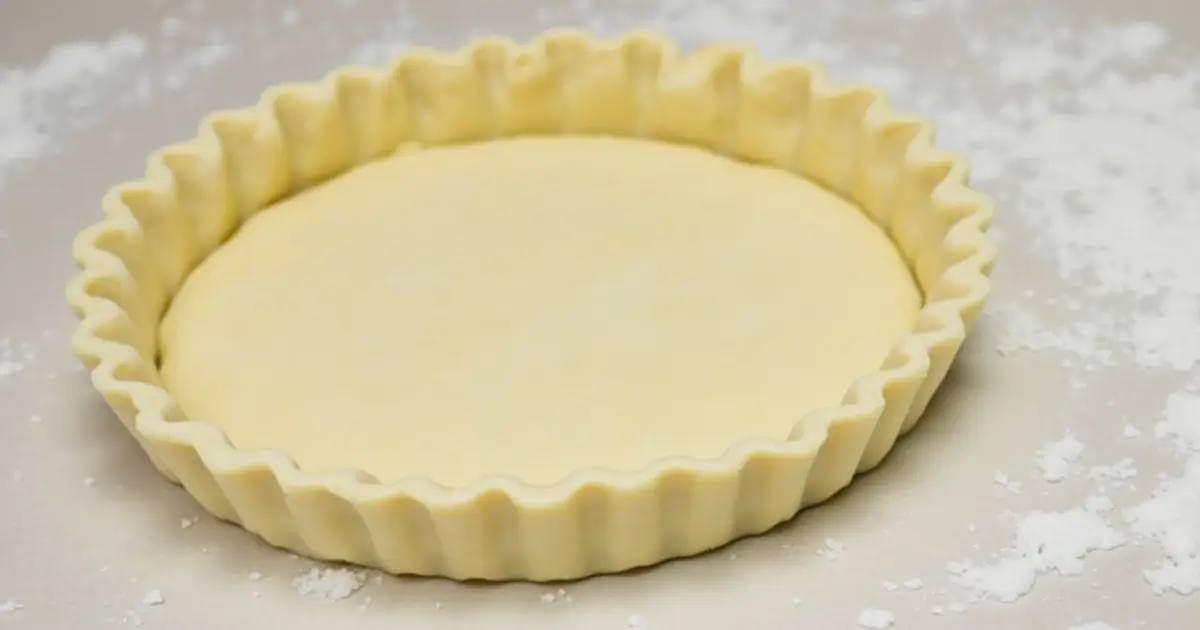
Step 6: Trim & Crimp
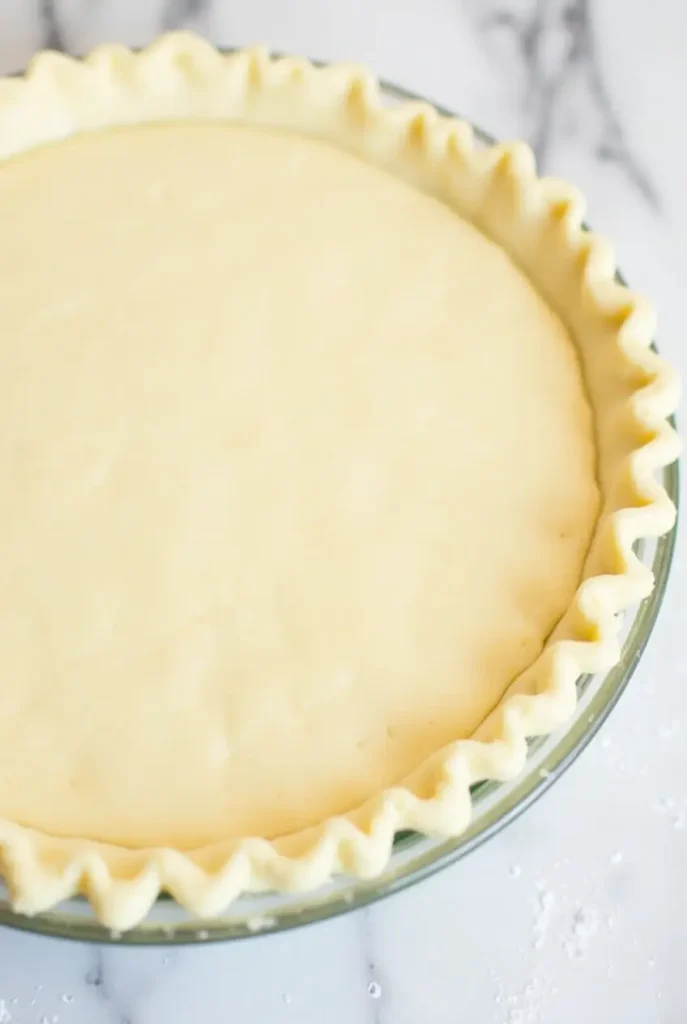
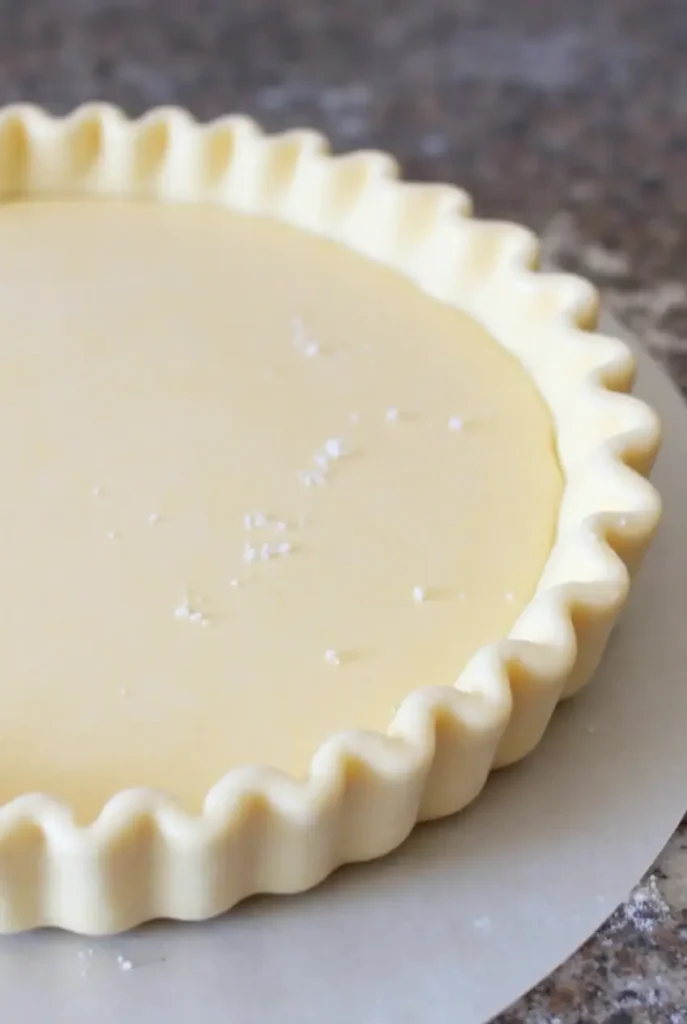
Make sure to leave approximately 1 inch of extra dough around the edges of the pie pan after lining it. With a fork or your fingers, crimp them after tucking them under, and then boom. Want extra flavor for savory pies? Brush with garlicky olive oil.
Nutritional Information (Per 1/8 Crust)
| Nutrient | Amount | % Daily Value |
| Calories | 180 | 9% |
| Fat | 12g | 15% |
| Carbs | 16g | 6% |
| Protein | 2g | 4% |
| Source: USDA FoodData Central. Values exclude fillings. |
Healthier Twists Without Sacrificing Flavor
- Swap out ½ cup regular flour for whole wheat. Tastes nutty, feels healthy.
- Use coconut oil instead of butter—vegan and a little tropical.
- Stir in a spoonful of chia seeds for crunch and an “I’m so healthy” Instagram caption.
Serving Suggestions: Beyond Basic Pie
- Savory: Caramelized onion, goat cheese, thyme—turn it into a galette and act like you’re on The Great British Bake Off.
- Sweet: Lemon curd and berries. Classic.
- Breakfast: Bake mini crusts for grab-n-go quiches. “Meal prep,” but actually delicious.
5 Common Mistakes (And How to Fix Them)
- 1. Soggy crust? Rice and parchment should be blind baked for 15 minutes at 375°F.
- 2. Tough as shoe leather? You mixed it to death. Next time, chill.
- 3. Butter leaking? Your butter was too warm. Before baking, put it back in the refrigerator.
- 4. Shrunken sides? Quit stretching the dough—lift, don’t yank.
- 5. Cracks? Too dry. Spritz with water before baking.
Storing Secrets: Fresh for Months
- Dough wrapped: kept in the refrigerator for three days.
- Freezer: 3 months, easy. Thaw overnight.
- Pre-baked crusts: Freeze in a pie dish. After that, add five more minutes to the baking time.
Conclusion: Your Pie Revolution Starts Now
You may make countless sweet, savory, rustic, or elegant compositions once you master this single crust pie dough recipe.
Look, you just beat pie dough’s bad reputation. Sweet, savory, whatever—you’re ready. Make it, post the pic (don’t forget #PieDoughPro, because why not?), and brag in the comments about your wildest filling.
FAQs: Quick Answers to Crust Crises
Q: Can I use a food processor?
A: Yep. Add the water and butter after pulsing the dry ingredients in a blender until they are crumbly. Stop before it’s a dough ball.
Q: Why is my dough cracking when I roll it?
A: Too dry. Spray with water, knead for a moment, and then set aside.
Q: Can I make this dough gluten-free?
A: Use 1:1 GF flour, a little xanthan gum, and maybe a splash more water.
Q: How thin should I roll the crust?
A: About ⅛ inch. Or stack two credit cards and eyeball it.
Q: Can I skip chilling the dough?
A: Don’t be a rebel here. Your crust will shrink and you’ll regret it.
Has our recipe been tried?
There are no reviews yet. Be the first one to write one.

